This guide will show you how to assemble the Cluster Case for Raspberry Pi (with Fans). All you'll need is a simple cross-head screwdriver.
Step 1 – Grab your box! You should find 3 perspex layers, a bag of fixings and two 5V fans

Step 2 – Peel the protective film off of both sides of all layers and clean off any dust

Step 3 – Installing the fans is a straightforward screw/nut situation, you'll want to install a 5V fan to the lid layer and *one* of the Raspberry Pi layers. Don't leave them so loose that they rattle when the fans are spinning, but also don't do them up so tight that you crack the acrylic!
Be sure to copy both the acrylic,fan and cable orientations below.

Step 4 – Next, we'll install the hex standoffs that your Raspberry Pi will sit on to both Raspberry Pi layers, it's another screw/nut setup!

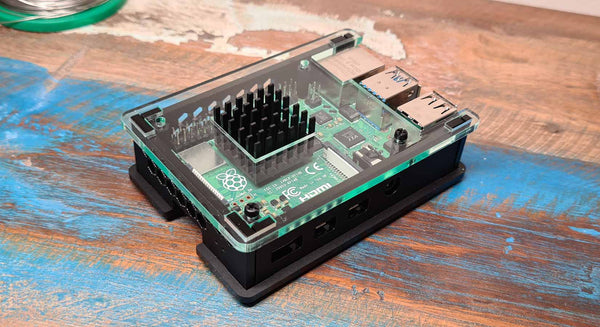
Step 5 – Install the four M3 pillars to the (fanless) Raspberry Pi layer. This will form our base.

Step 6 – Now we can add our Raspberry Pi, securing it with the four M2.5 screws. The Raspberry Pi sits atop the hex standoffs to create some good airflow underneath

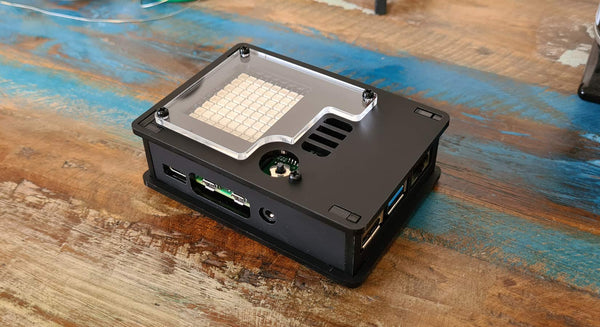
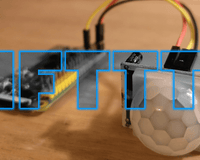
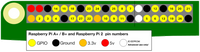
Step 7 – We'll start building upwards now! Install the 5V fan from the remaining Raspberry Pi layer, ensure it's correctly plugged into the 5V and GND pins

Step 8 – Layer complete. From here you can repeat steps - as many times as your heart desires (or until you run out of Raspberry Pis!).
 .
.
Step 9 – Connect the final fan and secure the lid layer using the M3 done nuts provided. Don't forget to add your rubber feet to the base of the case - they help absorb some of the fan noise. Job done!