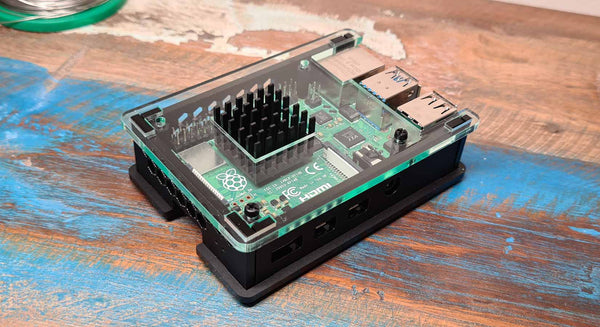
This guide will show you how to assemble the Mini Cluster Case for Raspberry Pi Zero. All you'll need is a simple cross-head screwdriver.
If you've purchased a layer pack to add additional boards, repeat step 5/6 for all layers.
Step 1 – Grab your box! You should find 2 perspex layers and a bag of fixings. Pop out the parts (the remaining frame goes in the bin), peel the protective film off of both sides of all layers and clean off any dust

Step 2 – Stick your rubber feet to the base of the case. We have engraved four small guides into the base so that you can get them perfectly aligned!

Step 3 – Pass 4 M2.5 screws through the base of the case and lock into place with M2.5 nuts. The Raspberry Pi sits atop these nuts to create some good airflow underneath.

Step 4 – Next add the M/F hex pillars to the base, secured with a nut underneath.

Step 5 – Now we can add our first Raspberry Pi, securing it with the four M2.5 screws.

Step 6 – Repeat steps 3-5 for any additional Raspberry Pi Zero layers you have (unlimited if you've purchased our add-on packs!)

Step 7 – Build your cluster vertically using the taller M2.5 hex stand-offs.

Step 8 – Finally, secure the lid into place with the remaining M2.5 screws. The lid is the panel with just 4 holes.