This guide will show you how to assemble the Raspberry Pi Zero Case for Waveshare 2.13" eInk Display. All you'll need is a simple cross-head screwdriver.
Step 1 – Grab your parts! You should find 2 perspex layers and a small bag of fixings.

Step 2 – Snap the acrylic parts out of their holders and peel the protective film off of both sides of all layers then clean off any dust.

Step 3 – With the USB symbol facing towards you, secure the 4 screws in place with the nuts provided
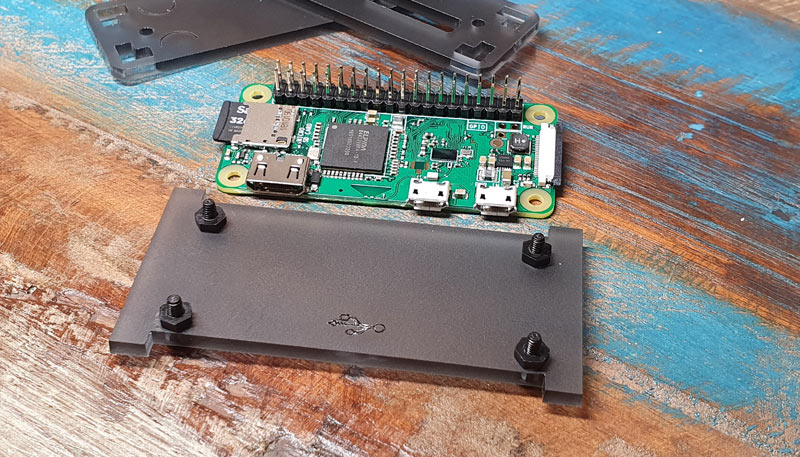
Step 4 – Place your Raspberry Pi Zero on top, make sure the USB ports are on the same side as the symbol (ie facing you) and use the remaining 4 nuts to secure.

Step 5 – Add your Waveshare 2.13" eInk Display on top of your Raspberry Pi Zero

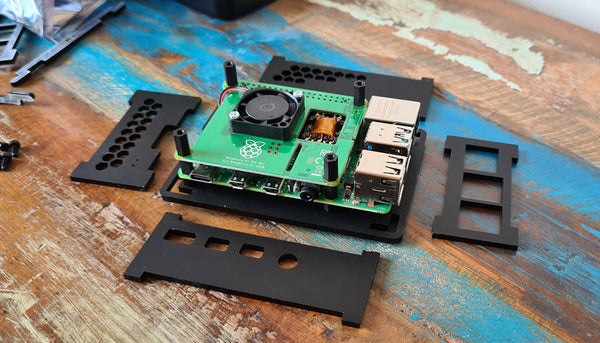
Step 6 – With the SD card symbol facing to your left, attach the two male/female standoffs using two more screws and then add the two female/female standoffs on top.

Step 7 – Pit stop! Here's a handy photo to show you how the side panels will slot together. Each panel with have a slightly bumpy set of feet (from where we snapped them out of the panels), fear not - these go into the base.

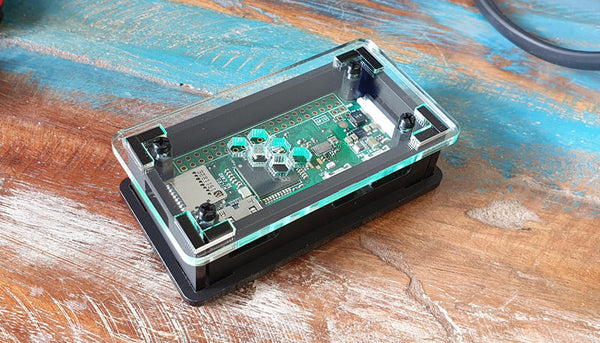
Step 8 – Slot your side panels into place one by one.
.
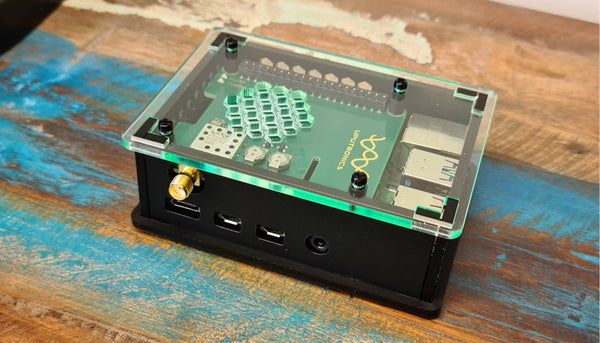
Step 9 – Now add the lid into place and secure with the remaining two screws

Step 10 – Flip the case over and add your rubber feet - we've added handy semi-circles that you can see through the case to help align your feet. Job done!