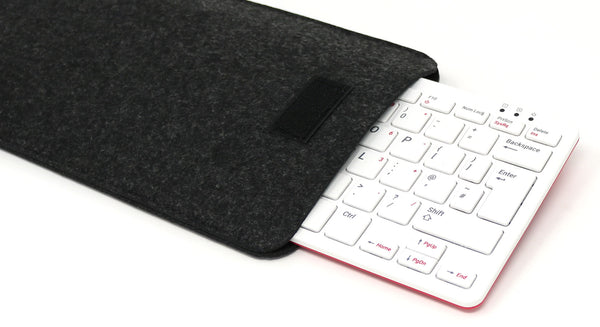
The new Raspberry Pi 400 is an altogether different kind of product than we’re used to seeing from Raspberry Pi.
Whilst The Pi400 maintains similar features and performance to the Raspberry Pi 4, and very much borrows it’s ‘clicky parts’ from the existing Raspberry Pi keyboard, having the working parts hidden away isn’t something we’re used to seeing from the clever folks at Raspberry Pi.
Whilst this removes a lot of the distraction for many news users setting out on a new coding journey, many of us seasoned Raspberry Pi users are eager to see what’s going on under the hood!
What does the PCB look like? How big is that heatsink? Where are the components? What new parts does it use? Can the keyboard be hacked?
We decided to tear down our early sample unit to find out! We grabbed our posh iFixit Pro Tech Toolkit and started taking it to pieces…
Raspberry Pi 400 Teardown
This first thing to do was to open up the casing. This was very easy, simply using the thin plastic prying tools from the iFixit kit. The casing cracked open without much resistance:

Opening the keyboard casing instantly revealed the mother of all heatsinks! Yes, that big metal plate is the heatsink!
No wonder Raspberry Pi decided it was safe to clock up the Pi400 to 1.8GHz (a considerable boost on the 1.5GHz clock on the Raspberry Pi 4):

Teasing us with patches of that familiar green colour was the PCB hiding underneath. We had to dig deeper!
We disconnected the keyboard ribbon cable and removed the screws from the heatsink with the sturdy iFixit driver:


With the heatsink removed, all that was left was the Raspberry Pi 400 PCB and the lower casing section.
It’s odd to see a Raspberry Pi this shape – almost resembling an enormous Compute Module 3:

Not expecting the teardown to be this easy (just a few gentle persuasions from a few plastic prys and a screwdriver), we extended our fun by inspecting the components on the PCB, comparing them to those on the Raspberry Pi 4.
As you can imagine, almost all of them were identical, however there a few we hadn’t seen on a Raspberry Pi 4 previously (these are perhaps related to the keyboard element:
CPU and RAM
The CPU and RAM chips were the first recognisable components, laying next to each other as always:


The next component to catch our eye was this ‘BOURNS SM51625L’. The internet tells us this is a telecom transformer. Thank you Internet!

Next was another familiar part – the USB controller chip:

The WiFi chip doesn’t have the nice mirrored casing of the Raspberry Pi 4 – probably not necessary for this unit:

The GPIO section, as expected, is using an angled header setup to allow the pins to be accessible from the rear of the keyboard:

The next component had us stumped. It’s a ‘Holtek HT45R0072’ which appears to be an MCU of some form. Perhaps another keyboard-related component (we’ll update this post when we find out):

The Ethernet controller was next, another Raspberry Pi 4 component we’ve seen before:

The usual power management and related components/circuity was the last set of notable 'things' we discovered:

So that’s what the guts of a Raspberry Pi 400 looks like – a nice simple construction, a whopping great heatsink and the usual brains of the operation hiding deep inside.
If you’d like to buy your own, we have the Raspberry Pi 400 Personal Computer Kits and standalone Pi400 keyboards in the store available to buy.
Important Note: Please don’t copy us – we did this so you don’t have to! You will invalidate your warranty if you open your Pi400 keyboard, and you don’t want that now do you?!