How to assemble our TV HAT Case for Raspberry Pi Zero! If you have the Raspberry Pi 4 version of this case, you'll want this guide instead.
What you need
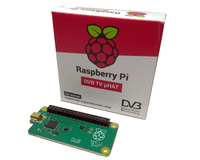
- Raspberry Pi Zero WH
- Raspberry Pi TV HAT
- TV HAT Case for Raspberry Pi Zero
!! Important note!! - At step 3, It's best to attach the GPIO header to the HAT before fitting to the Raspberry Pi. It keeps the pins fitted properly inside the HAT for a solid connection.
1. The laser-cut parts of the case are protected by an adhesive film which needs to be removed before assembly (this is *very* therapeutic), simply peel it off
2. Using the black screws, attach the smallest 5mm m/f stand-offs to the bottom plate of the case.

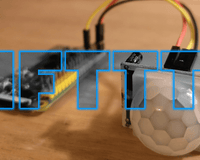
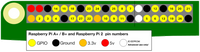
3. Place your Raspberry Pi Zero on top of these stand-offs with the SD card above the SD cutout and attach the taller m/f standoffs along with the GPIO header included with your TV HAT **Update** Attach the GPIO header to the HAT before fitting to the Raspberry Pi. It keeps the pins fitted properly inside the HAT for a solid connection.

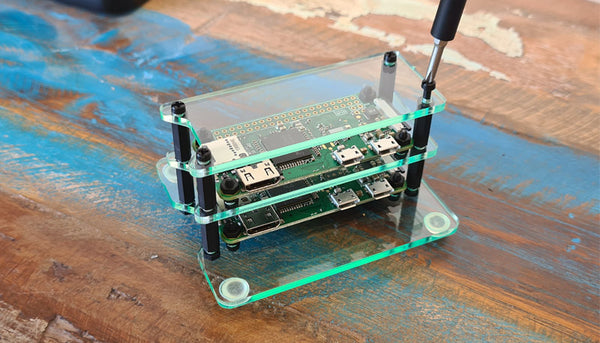
4. Attach your Raspberry Pi TV HAT and secure with the remaining 4 f/f standoffs. As seen below, the TV HAT PCB is an odd shape, do this final standoff last and tighten so that it just pinches the PCB.

5. Assembling the side pieces is nice and easy - they'll be loose at first, but don't worry, the lid and screws on top hold the case together nice and snug.

6. Close the case and screw it shut with the remaining black screws.

Viola! Case complete!
NOTE: Acrylic is a hard and stiff plastic which is sensitive to stress concentrations and shares a certain level of fragility with glass. Acrylic can scratch easily and should be cleaned with a mild solution of dish detergent and warm water. Never use cleaners unsuitable for acrylic. Never use a dry, abrasive cloth.