IFTTT (If This Then That) is a free IoT service that allows you to send a trigger from one device/thing, and allow that trigger to make something happen elsewhere.
Confusing? Perhaps, but a quick example should help show the simplicity of it:
Our recipe ('applet') could be: "If I send an email with the subject 'turn on', then switch on my smart lightbulb".
The 'THIS' is the email and the 'THAT' is lighting the WiFi lightbulb. Simple right?
IFTTT Services
The exciting thing about IFTTT is the sheer number of services you can use as either triggers (THIS) or actions (THAT). There are hundreds to make use of including Google Drive, Pushbullet and Android Wear. There are even niche services which can link to your smart washing machine, Dominos Pizza, BMW and Tesco shopping!
Now imagine if we could combine the power of IFTTT with the Raspberry Pi?
Considering the flexibility of Python, the power of the GPIO, and the huge range of sensors, components and inputs we can attach to it - the possibilities are truly endless!
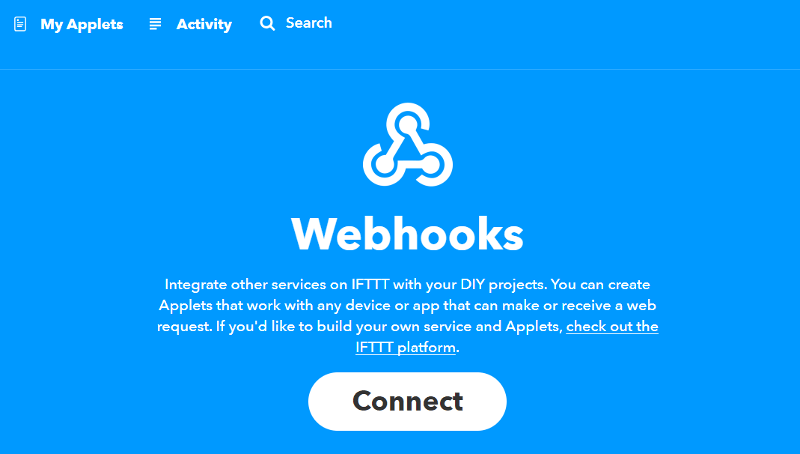
IFTTT Webhooks
Well, this IS possible thanks to the IFTTT Webhooks service, which was specifically designed for makers.
Webhooks can send and receive triggers via HTML POST and GET requests, which can be easily added to your code using the 'requests' python library.
A GET request pulls data from a source/server, and a POST request does the opposite - it sends (or updates) data to a server.
IFTTT Motion Alert Project
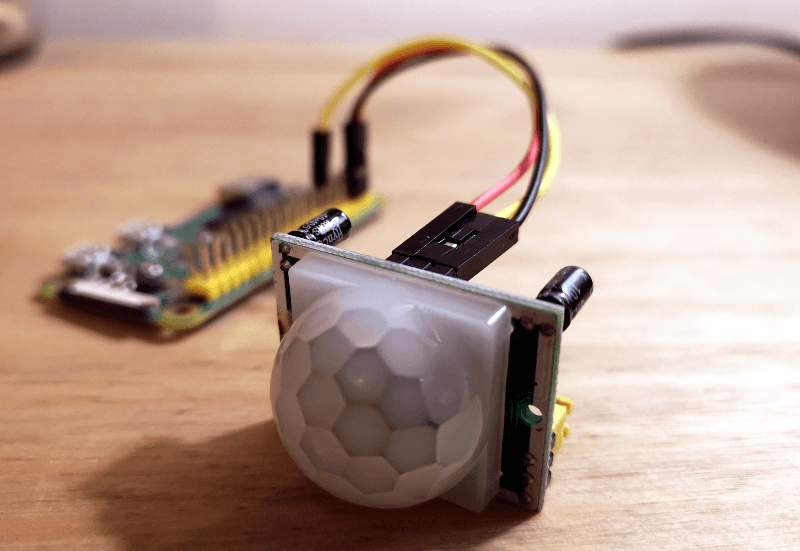
To explain how to use IFTTT, we're going to show you a real project in action using a Raspberry Pi Zero W and one of our affordable PIR sensors (also included in our EduKit Sensors Kit).
Our IFTTT project will use the Webhooks service as the trigger, which will be used in conjunction with the Pushbullet service to send a pop-up notification to our smartphone when that even occurs.
This project will detect when someone enters a room - catching anyone snooping where they shouldn't be when we're out of the house! This could be used in an office that the kids aren't allowed in, watching for your little sister borrowing your things, or even as a super simple DIY Raspberry Pi burglar alarm!
We can even use the IFTTT mobile app to turn the triggers on/off, so that you don't get constant notifications when you're at home.
Step 1: Assumptions
For this project example, we're going assume the following:
- You have a basic understanding of the Raspberry Pi
- You have your PIR sensor set up and working as per the CamJam EduKit 2 worksheet instructions (PIR middle signal pin on GPIO 17 (BCM).
Step 2: Account Setup
Before we go anywhere near our Raspberry Pi we need to set up our IFTTT and Pushbullet accounts.
IFTTT
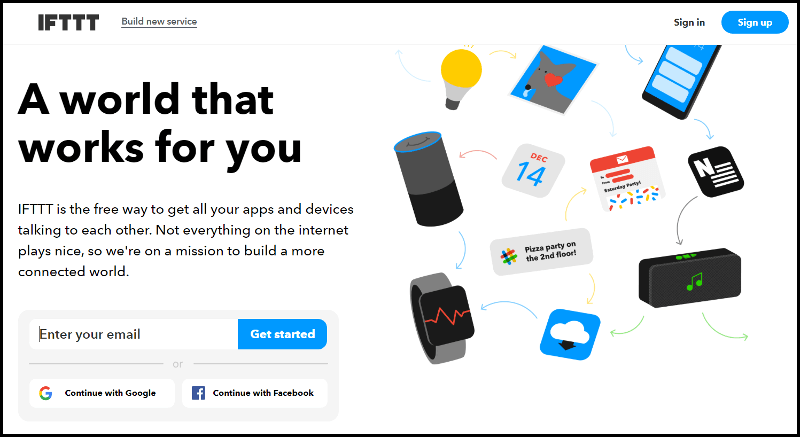
Go to the IFTTT website (https://ifttt.com) and select 'sign up' in the top-right corner:
It's a straightforward sign-up process like any other - we chose to sign in with our Google account to remove the need to remember yet another password.
It'll show a screen asking you to pick 3 services to start off with - ignore that and just click the 'X' in the top-right corner.
You'll then be taken to the homepage - that's it, IFTTT account created!
Pushbullet
Pushbullet is a simple sign-up process again, but as we want smartphone alerts we need to also install the mobile application.
We'll start with the account sign-up. Go to the Pushbullet website (https://www.pushbullet.com/) and select to sign up with either Google or Facebook.

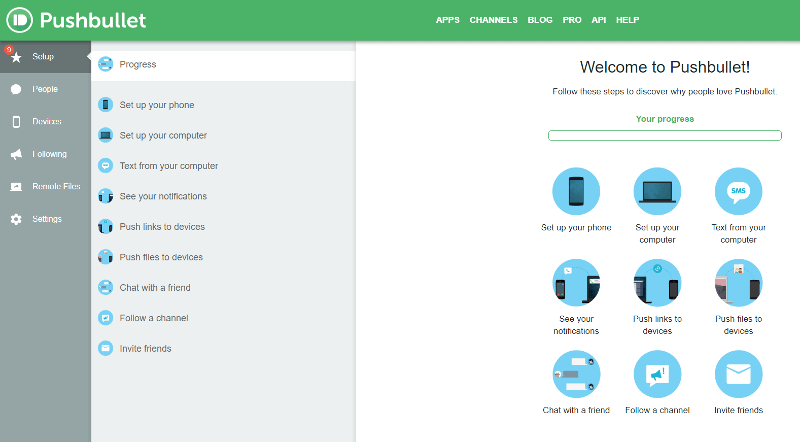
You'll then be taken through some recommended setup steps. You'll want to add the mobile app for Pushbullet as this is how we receive notifications on our phone.
Select the 'Set up your phone' option, then select either the Android or iPhone. This will take you to the respective app store page where you can download the Pushbullet app.
Be sure to open the mobile app and log in with the same method (Google/Facebook) that you used on the desktop site.
The other Pushbullet setup options can be ignored for now. Your Pushbullet account is now created!
Step 3: Activate Webhooks and Pushbullet services
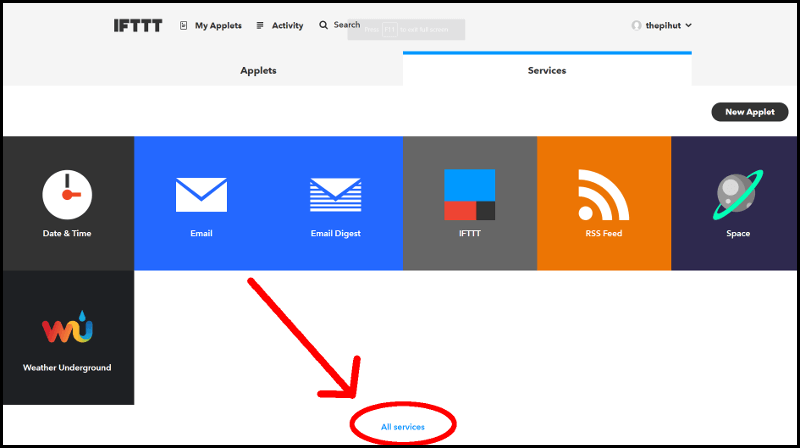
Open IFTTT in a browser, select your username in the top-right corner, then select 'Services'.
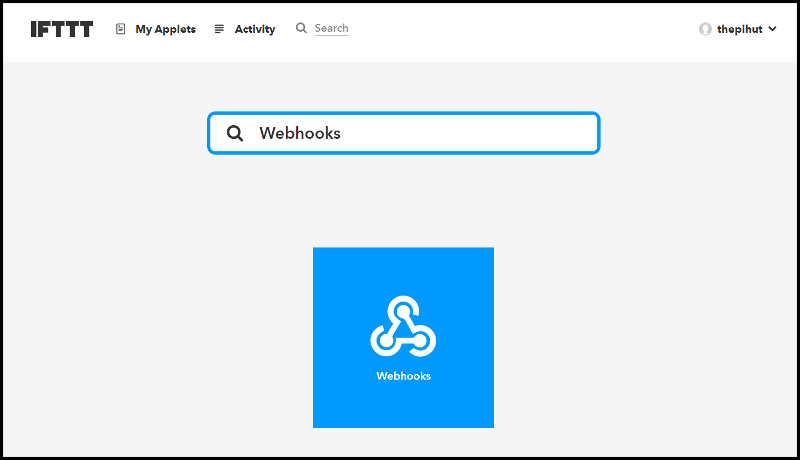
You should see a small selection of services - these are the default services that all users start with. At the bottom of the page, select 'all services'.
When the next page appears, type 'Webhooks' into the filter box, which will single out the webhooks service:
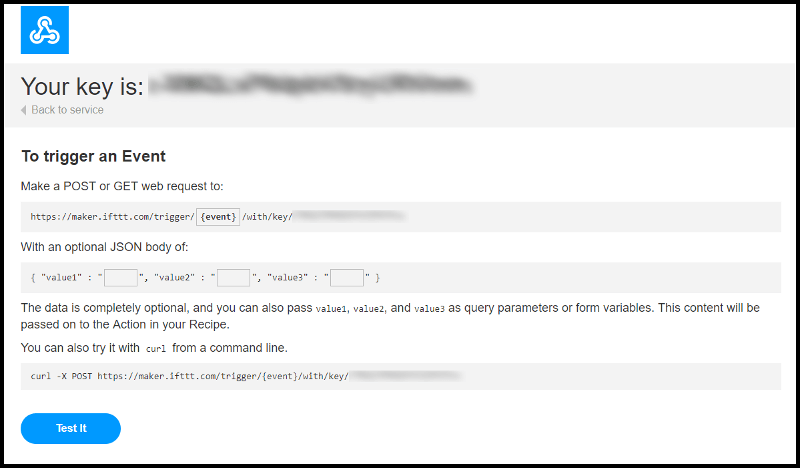
Select the Webhooks icon, then click 'connect' on the next screen to enable that channel.
There's nothing to sign in to for this one, as it's simply activating a way to request and push data to IFTTT.
The page will refresh and you'll notice a 'Documentation' button appear on the right. Select that to find your unique 'key' (take a note of it):
Go back to the IFTTT homepage and repeat the steps to add a service, however this time filter for 'Pushbullet'. As before, you'll see a button to connect IFTTT to the Pushbullet service.
Assuming you're still signed in to Pushbullet, you should see the following page where it asks you to approve the request for IFTTT to connect to your Pushbullet account:
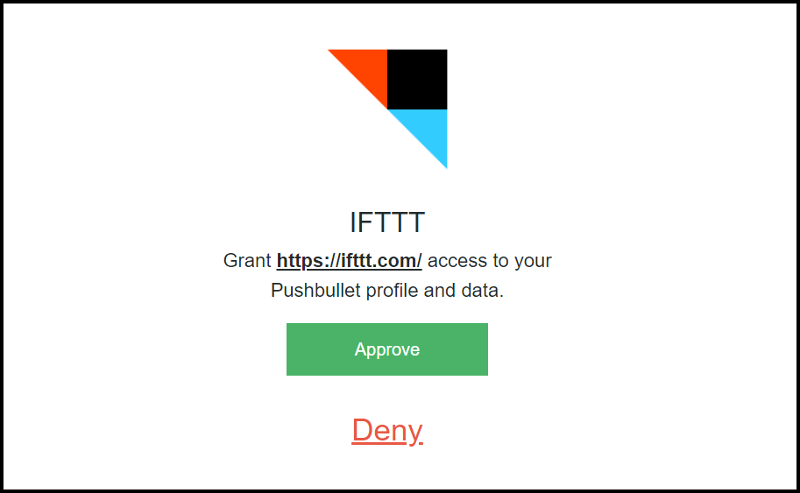
Once you've approved access, we're ready to start.
Step 4: Create an IFTTT Applet
An Applet is our recipe that links services together - linking a 'THIS' trigger with a 'THAT' action.
For this project, the PIR sensor will trigger the Raspberry Pi to send a HTML POST request to the IFTTT webhooks service, and will trigger Pushbullet to send a note when that happens. That will then pop up on your phone as you have the Pushbullet application installed.
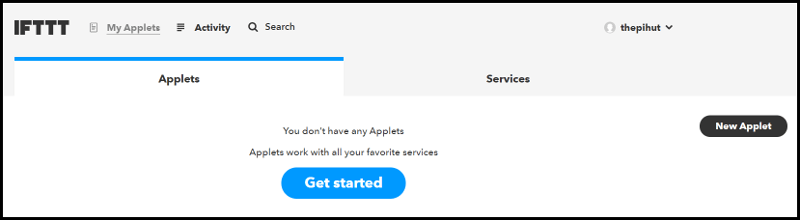
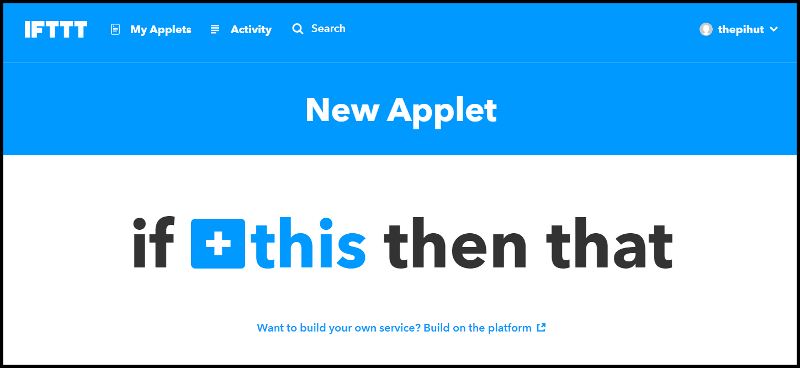
From the IFTTT home page, select the 'My Applets' link at the top of the page. You'll see the screen below, along with any default applets that IFTTT sets up for new users. Select the 'New Applet' button on the right side of the screen.
An easy to use interface will load on your screen. Select the blue 'THIS' link.
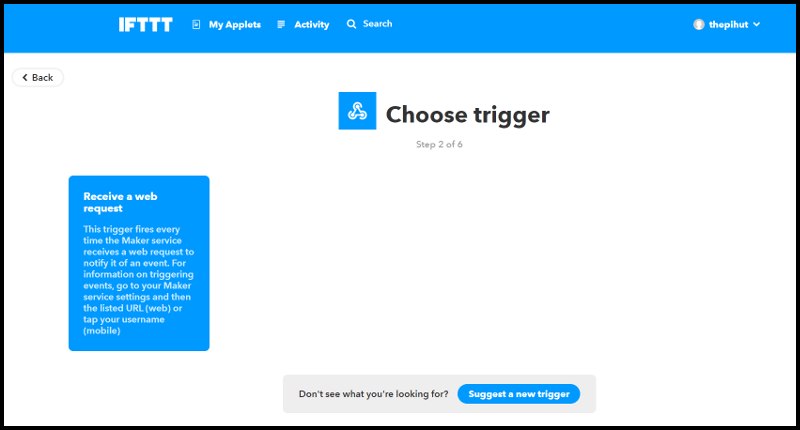
Now search for 'Webhooks' and then select the Webhooks icon.
There's only one trigger option for Webhooks, which is 'Receive a web request'. Select that option:
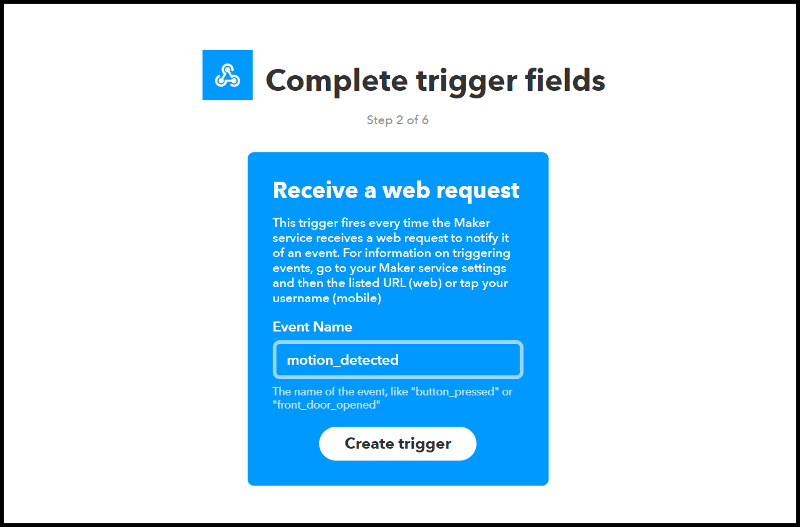
Now we need to add some specifics to this trigger. The next screen will ask for an event name. This is something we add to the Python HTML request later on when we write the script on the Raspberry Pi.
We'll call this event 'motion_detected' then click 'create trigger':
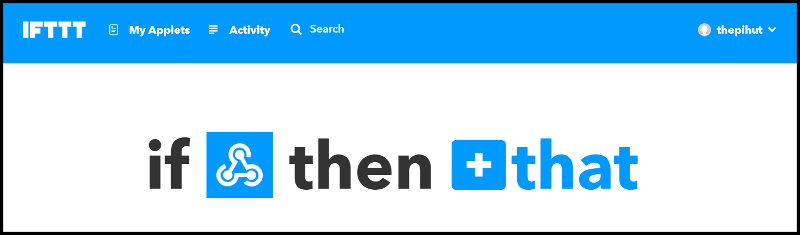
You'll see the Webhooks icon has now taken the place of the 'THIS' text. We now have to set the 'THAT' action - click on the blue 'THAT' text:
Using the filter again, type in 'Pushbullet' then select the Pushbullet icon when it appears. We want Pushbullet to send us a note (a notification) when this applet triggers, so select the first 'Push a note option'.
We can set this up how we like, including 'ingredients' which are pieces of data which we can set our Raspberry Pi to send through with our Webhooks request.
We'll keep this one simple and just push some text with the date/time of when motion was detected, as follows:

Select 'Create action' to move to the final screen.
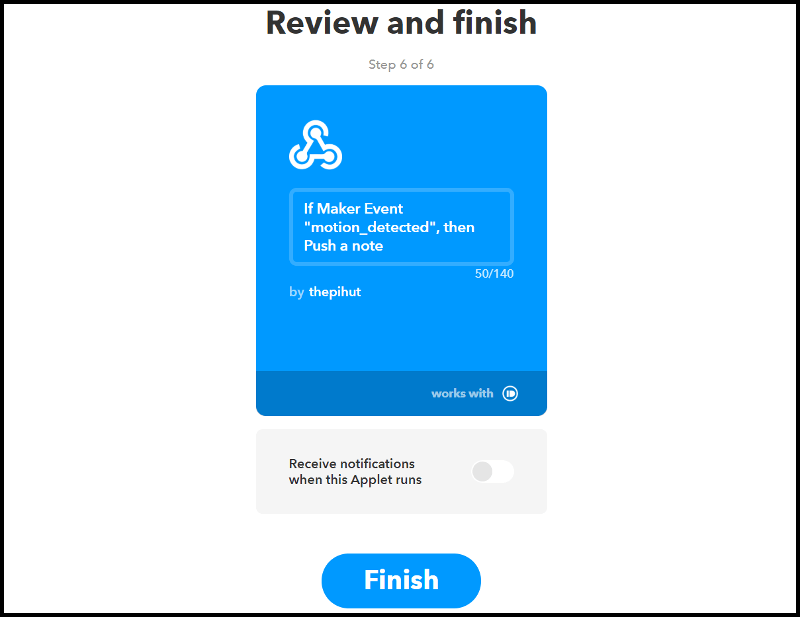
Here we see a summary of our applet and confirm that we want to complete it. Select the 'Finish' button:
That's it - our applet is waiting for us to trigger it from our Raspberry Pi, so let's move to that part now.
Step 5: Raspberry Pi Setup
Step 1: Update Raspbian
As always, we recommend starting with a fresh copy of Raspbian and updating it by running the following commands in a terminal window, both followed by enter:
sudo apt-get update
then
sudo apt-get upgrade
Step 2: Install pip
Pip is a package manager for Python. You will likely already have pip installed on your Raspberry Pi, but let's check anyway just in case.
Type the following command, followed by enter:
sudo apt-get install python3-pip
Step 3: Install Requests
Requests is the module which allows us to send the HTML POST request to IFTTT.
Install requests by typing the following command, followed by enter:
sudo pip3 install requests
Step 4: Install RPi.GPIO
If you're using Raspbian Lite, you may also need to install RPi.GPIO. Type the following command followed by enter:
sudo apt-get install python-rpi.gpio python3-rpi.gpio
Step 6: Python script
As we're using the PIR sensor from the CamJam EduKit Sensors kit, the Python script is based mostly on the CamJam code for that sensor. We tweaked the layout/style it a little, and then added just two lines of code to send the POST request to IFTTT:
- We added line 6 to import the requests module. We have to import requests to allow us to use it, just like any other module.
- We added line 46, which is the URL and key needed to trigger the IFTTT recipe.
- You'll need to change the part that says YOUR_KEY to your IFTTT key
- You'll need to change the part that says YOUR_EVENT_NAME to whatever event name you want to use with Webhooks (remember, we used 'motion_detected' in the example)
It really is as simple as adding just two lines of code!
The Code
Here's the full Python script. Below the code you'll see how to easily download this directly to your Raspberry Pi:
#! /usr/bin/python
# Importsimport RPi.GPIO as GPIOimport timeimport requests
# Set the GPIO naming conventionGPIO.setmode(GPIO.BCM)
# Turn off GPIO warningsGPIO.setwarnings(False)
# Set a variable to hold the GPIO Pin identitypinpir = 17
# Set GPIO pin as inputGPIO.setup(pinpir, GPIO.IN)
# Variables to hold the current and last statescurrentstate = 0previousstate = 0
try: print("Waiting for PIR to settle ...") # Loop until PIR output is 0 while GPIO.input(pinpir) == 1: currentstate = 0
print(" Ready") # Loop until users quits with CTRL-C while True: # Read PIR state currentstate = GPIO.input(pinpir)
# If the PIR is triggered if currentstate == 1 and previousstate == 0: print("Motion detected!") # Your IFTTT URL with event name, key and json parameters (values) r = requests.post('https://maker.ifttt.com/trigger/YOUR_EVENT_NAME/with/key/YOUR_KEY_HERE', params={"value1":"none","value2":"none","value3":"none"}) # Record new previous state previousstate = 1 #Wait 120 seconds before looping again print("Waiting 120 seconds") time.sleep(120) # If the PIR has returned to ready state elif currentstate == 0 and previousstate == 1: print("Ready") previousstate = 0
# Wait for 10 milliseconds time.sleep(0.01)
except KeyboardInterrupt: print(" Quit")
# Reset GPIO settings GPIO.cleanup()
Downloading the script
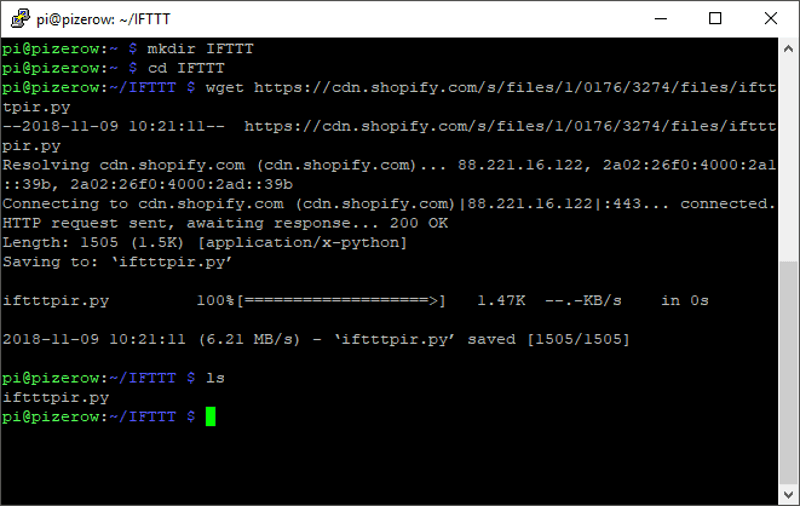
The easiest way to download the Python script to your Raspberry Pi is with a simple 'wget' command, which tells your Raspberry Pi to download the script.
First, in a terminal window, make a new directory by typing the command below followed by enter:
mkdir IFTTT
Then enter that directory by using the following command, again followed by enter:
cd IFTTT
Finally, download the script to that directory by using the following command, followed by enter:
wget https://cdn.shopify.com/s/files/1/0176/3274/files/iftttpir.py
Then check it worked by using the command below followed by enter:
ls
Your directory should look like the image below:
Pro Tip!
Did you notice at the end of line 46 there is a 'params' line of code after the URL?
params={"value1":"none","value2":"none","value3":"none"})
We're not using them in this example, however they can be used to send up to 3 values to IFTTT in your POST request, which can be any string that your script can create.
Here's where you add them in IFTTT, when you're creating your applet:
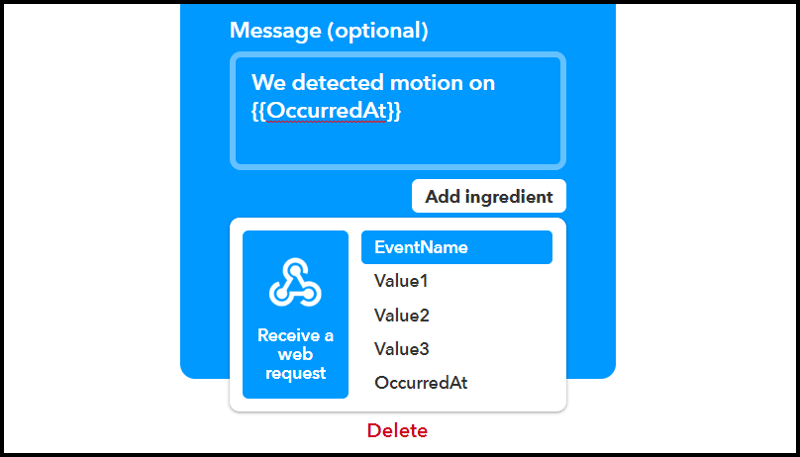
Consider the uses of these values when combined with other sensors such as temperature, ultrasonic or humidity (or one of the many other sensors available)!
Step 7: Run the script
To run your code, first make sure you're in the IFTTT directory, then run the code with this command, followed by enter:
sudo python3 iftttpir.py
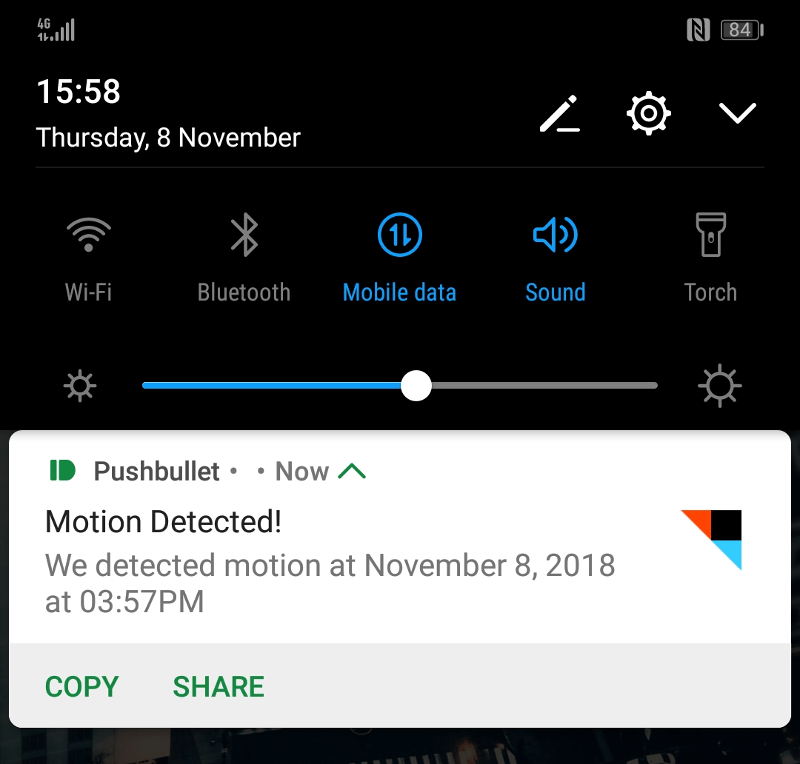
Step 8: The Result
With your code running, you will start receiving notifications from Pushbullet every time someone moves in front of your PIR sensor!
Here's what it looks like on our smartphone:
The script includes a 120-second delay after motion is detected, just to make sure you don't keep receiving notifications every second when there's someone in the room. You can change that setting to fit your project's needs (line 53).
Let us know what you've created with IFTTT and your Raspberry Pi. Send us your pictures and projects on Twitter, Facebook or Instagram.